Have you ever wished to Install Windows on a USB Drive directly and you could carry a fully functional Windows operating system in your pocket? Well, you can, and it’s easier than you might think. In this article, we’ll guide you through the process of installing Windows onto a USB drive, whether it’s a thumb drive or an external SSD. With just a few tools and a bit of patience, you can have a portable Windows system ready to go whenever and wherever you need it.
Table of Contents
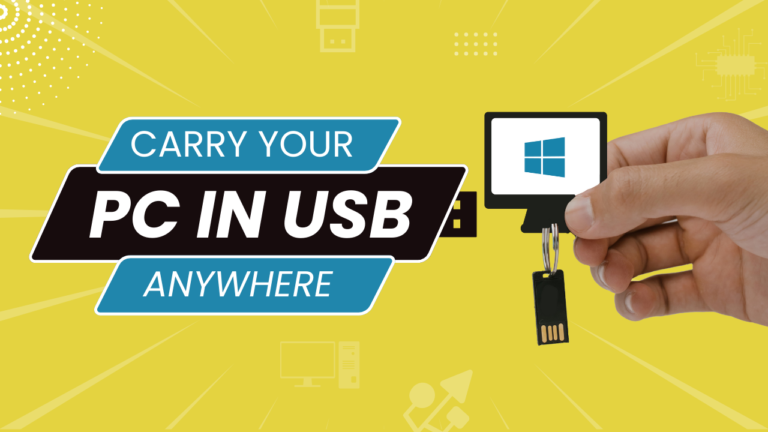
Advantages of Windows on USB
- Portable PC on USB which you can carry anywhere, and boot from any computer
- Carry your documents with you and open them from your computer instead trust on someone else’s computer to reduce misuse of personal documents
- Carry your all favorite apps and software preinstalled on USB
- Take your personalized settings for PC and software with you.
- Provide the highest security and privacy in third-party computers on public networks.
Tools Needed
- USB Drive – the faster, the better. An external SSD is recommended for optimal speed, but a regular USB thumb drive will work as well.
- Windows 10 or Windows 11 ISO – the installation files for the Windows operating system.
- Bootable Software – Win To USB or Rufus a free tool for creating bootable USB drives.
Step 1: Downloading Bootable Software
Step 2: Obtaining Windows ISO
- Search for Windows 11 or Windows 10 ISO and download it from Microsoft’s official website.
- For Windows 11, select “Download Windows 11 Disc Image” and follow the prompts.
- For Windows 10, use the Windows installation media tool to download the ISO.
Step 3: Burning the Bootable USB
- Run Rufus and select “Disc or ISO image” for boot selection.
- Choose the downloaded Windows ISO file.
- Select the USB drive you want to install Windows on.
- Change the Image Option to “Windows To Go.”
- Click Start and wait for the process to finish.
Step 4: Booting Up the USB (Disabling Secure Boot)
- Disable Secure Boot in your computer’s BIOS settings.
- Boot from the USB drive, following your computer’s specific instructions.
- Remember to re-enable Secure Boot after testing the USB drive.
Step 5: Booting Into Windows
- The initial boot might take some time; follow the setup prompts.
- Create a local account during the first-time setup.
- Explore the Windows environment on your USB drive.
Limitations of Windows To Go
- Slow compared to the actual performance of the PC, as booting from a USB port. We recommended using an SSD external drive.
- May require a separate software license for USB devices.
- Windows To Go does not support major upgrades; a fresh install may be required for new versions.
- Some other limitations may apply; refer to the Microsoft article on Windows To Go for more details.
Conclusion
Congratulations! You now have a portable Windows system on a USB drive. While there are some limitations, this method provides a convenient solution for troubleshooting, testing, or carrying your Windows environment wherever you go. If you found this guide helpful, consider giving it a thumbs up, and don’t forget to explore other related content on the creator’s channel. Happy computing!