In today’s digital world, privacy and control over personal data are becoming increasingly important. Many popular cloud storage services collect and manage your data, often at the cost of your privacy. This blog will guide you through setting up your own self-hosted private cloud using Nextcloud, a free and open-source solution that ensures you retain full control over your data.
What is Nextcloud?
Nextcloud is a powerful, open-source platform that allows you to store, share, and manage your files securely. Unlike traditional cloud services, it’s self-hosted, meaning you can install and run it on your own infrastructure. This ensures that your data stays private and secure, with no third-party interference. More details on : Nextcloud website
Why Choose Nextcloud?
Privacy and Security: Nextcloud is open-source, allowing anyone to inspect its code for security. You host it yourself, so your data remains entirely under your control.
Feature-Rich: It offers a wide range of tools, including file sharing, photo management, password management, collaborative tools for meetings and chats, and more.
Cost-Effective: You can host it for free using services like Oracle Cloud, which provides sufficient resources to set up your Nextcloud server.
Setting Up Nextcloud
Follow these steps to create your private cloud:
1. Create a Virtual Machine (VM)
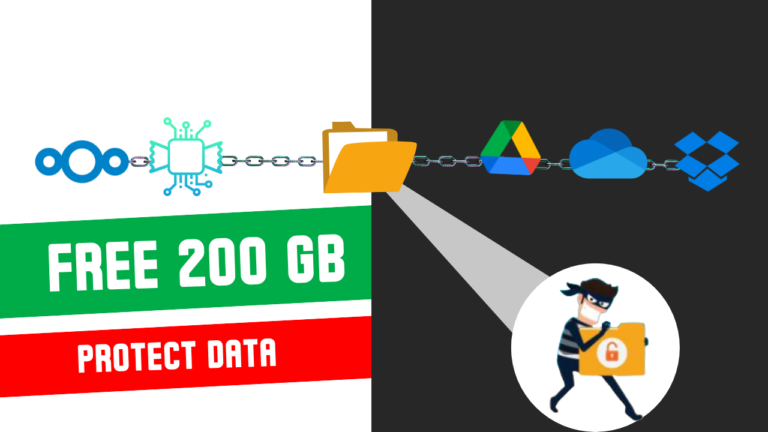
To host Nextcloud, you need a virtual environment. Using Oracle Cloud is a great option as it provides free resources and up to 200 GB of free cloud drive storage. To know more about how to setup an oracle free tier account read this blog:
Log in to Oracle Cloud and navigate to the Compute Instances section.
Create a new VM instance, selecting a lightweight Linux distribution like Ubuntu.
Assign a public key to the VM for secure SSH access.
2. Configure the VM
Once your VM is set up:
Update and upgrade the system:
sudo apt-get update && sudo apt-get upgrade -y
3. Install Nextcloud
Download and install Nextcloud on your VM:
sudo apt install nextcloud
Create an admin user and set your own USERNAME and PASSWORD bellow
sudo nextcloud.manual-install USERNAME PASSWORD
4. Adjust Firewall Settings
To ensure Nextcloud is accessible, configure firewall rules both on Oracle Cloud and within your VM to allow traffic on ports 80 (HTTP) and 443 (HTTPS).
					sudo firewall-cmd --zone=public --permanent --add-port=80/tcp
sudo firewall-cmd --zone=public --permanent --add-port=443/tcp
sudo firewall-cmd --reload
sudo firewall-cmd --list-ports
5. Access and Use Nextcloud
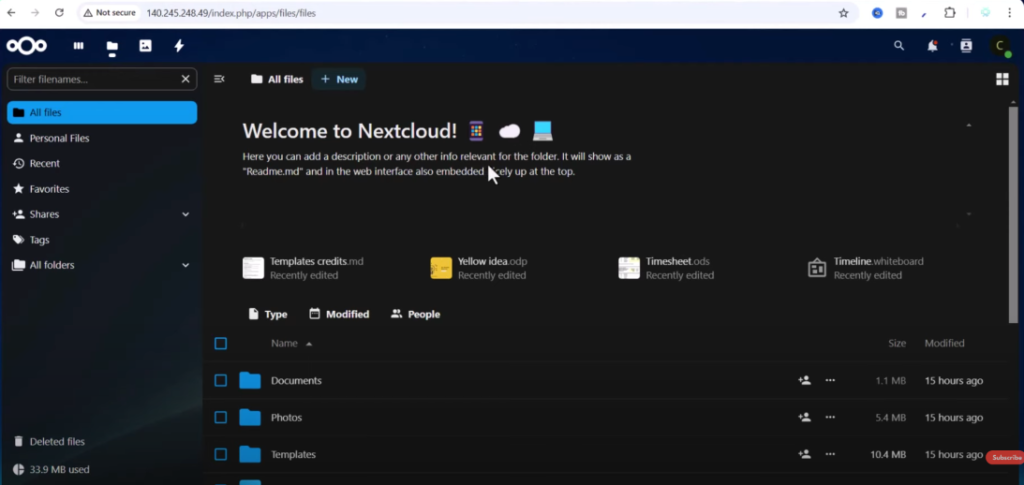
Open your browser and navigate to your server’s IP address or domain. Log in with your admin credentials to explore Nextcloud’s powerful dashboard. You can:
-
Upload and manage files.
-
Organize photos and videos like Google Photos.
-
Share files securely with others.
-
Use collaborative tools for meetings, calls, and chats.

Why Self-Host Nextcloud?
Complete Data Control: Your data stays on your server, not on third-party systems.
Enhanced Privacy: No external company has access to your information.
Learning Opportunity: Hosting your own cloud helps you build valuable IT and cloud management skills.
Bonus: Extend Nextcloud with Apps
Nextcloud’s ecosystem supports a variety of apps, such as:
Collaboration Tools: Chat, video conferencing, and document editing.
Media Management: Tagging, albums, and geolocation integration for photos.
Password Management: Securely store and manage your credentials.
Custom Solutions: Build and integrate your own apps using APIs.
Final Thoughts
Building your private cloud with Nextcloud is a rewarding project that enhances both your privacy and technical skills. Whether you’re a student, professional, or business owner, Nextcloud offers the flexibility and security you need in a cloud solution.
Get started today and take control of your data! If you have questions or need further assistance, feel free to leave a comment below.


